Home Tags Posts tagged with "photography tips"
Tag:

photography tips

Dog photos: Tips for taking great pet portraits with your iPhone

Pets make some of the cutest (and funniest) photo subjects, but we know that photographing your four-legged friend isn’t always easy! That’s why we’ve put together our top tips for capturing dog photos on your phone.


1. Think about your location

Simple backgrounds work best when capturing photos of dogs. If you’re looking to take pet portraits in the great outdoors then a backdrop of a white sandy beach or green trees will work well.

Remember to pay attention to colour, you want your dog to stand out. For example, a chocolate Labrador will blend into a background of brown tree trunks, you want to choose a backdrop which will provide contrasting colours.


Cute dog photos - young child and her dog

2. Get down to their level

To get the best dog photos, it’s important they feel at ease. So instead of standing over them, take a knee, sit on the floor, lie on your belly, or do whatever you need to get eye-to-eye with your dog.

Not only will this help your pet to feel more comfortable, it will allow you to capture dog photos from their view of the world.


3. Add some props to your dog photos

There’s no doubt about it, props add a real personal touch to your images. If you’re looking to create cute dog photos, try taking a picture of them sitting in your arm chair (if they are allowed on the furniture of course), snuggled up in their bed, or with their favourite soft toy.

Adding a prop, or costume can also be an easy way to capture funny dog photos, so if you are looking for that laugh out loud factor try searching sites such as Pinterest for the best prop and costume ideas. A couple of our favourites, a pair of sunglasses or for that special birthday dog photo, try a party hat.


Funny dog photos

4. Time your dog photos just right

If you are looking to capture more formal-looking pet portraits then choose a time when your dog is a little sleepy. Getting a crisp, sharp shot is much easier when they are a little less active and on-the-go!

Equally, if you want some real action shots to show off their playful nature, then choose the time of day when they get that sudden burst of energy!


5. Getting their attention

The beauty of using your iPhone means you don’t need to have your own eye down a lens, so you can get the dog to engage with you. Or if you have an assistant, even better! Get them to engage with your dog whilst you concentrate on getting the shot!

When it comes to getting their attention, you will know what works best for your dog. From calling their name, making a sound they respond to, using their favourite toy or providing treats. Be sure to keep rewarding your pup between shots!


Dog photos close up

6. Get creative with close ups

For the ultimate cute dog photos, be sure to capture those close-ups. Try getting up close so your dog fills the entire frame, or snap a head shot which shows off their profile.

Feeling extra creative? Get even closer to highlight your favourite part of your dog, from their gorgeous black, wet nose to those small but perfect formed paws! Try experimenting with angles too, front on, from above at 45 degree angles.


7. Think about lighting

Most amateur photographers do best with warm, natural sunlight, so that means shooting in the mornings or evenings, on slightly overcast days, or in the shade if it’s a really sunny day.

If you’re taking photos of dogs indoors, you will want to choose a room which gets lots of natural light. You won’t want to be using a flash as this could startle your pet so opt for the room with the largest window!

Cute photos of dogs

8. Capture dog photos which are full of character

You know your dog best and their funny little quirks and traits are what you love so much – so make sure to capture them.

Perhaps you have a smiling Spaniel or a French Bulldog who will snooze in the strangest positions? Think about what makes your pet so special, and then when the opportunity arises, grab your iPhone and get snapping. Guaranteed to result in some hilarious and rather cute dog photos.


Put all of these tips into action and you’ll have a phone full of gorgeous pet portraits! With PostSnap you can take your pictures from your phone to real photo prints in a matter of minutes, so you can fill your home and albums with your favourite dog photos.

0 comment
0 FacebookTwitterGoogle +Pinterest
School photos

The start of each school term marks yet another milestone in your little one’s childhood. Capturing these memories with our phones has become part of the back-to-school routine, being able to share these special moments with friends and family in photo form. We have put together our favourite ideas, inspiration and tips for capturing these school photos perfectly.


1. Be prepared

We all know how manic a morning routine can be, so it’s important to take some simple steps to ensure you have enough time for your school photoshoot. A lot of this will come from preparation the night before, have the lunchbox packed, the uniform ironed and make sure you have both agreed on the school photos hairstyles! Of course, getting up a little earlier will help too.


School photoshoot - boy sat on school steps

2. Choose your location

Taking back to school photos in front of your front door has become a firm family favourite. A door provides a clean and simple backdrop, you can also try a location in front of a brick wall for a similar, simple yet polished effect.

If you’re looking for something a little bit different try taking your photos at school itself. In front of the school gate, by your child’s peg, on school steps or with their class teacher.


3. Think about props

Adding props to your photoshoot can provide a lovely pop of colour as well as add a personal touch. Need some ideas on the types of props? There are lots of things around the house you can use such an apple, your child’s rucksack or lunchbox, their favourite book or a chalk board.

Props can add a real sense of fun to your images and if your little one suddenly gets camera shy; they make a great distraction. Ask them to interact with the props whilst you snap away!


Back to school photo - brother and sister walking to school

4. How to get candid school photos

If you’re a fan of natural, documentary style portraits, there are some simple ways to create gorgeous candid shots.

Take pictures of them whilst they get ready – brushing their hair, pulling up their socks, doing up their buttons or buckling their shoes. All of these finishing touches make perfect moments for capturing back to school photos.

The journey to school also provides ample opportunities for beautiful photos. Take your phone or camera on your walk to school to capture some great moments, holding their siblings’ hand, the moment they start skipping out ahead, carrying their schoolbag.


5. Get the end of term school photo too!

Our little one’s grow up so much between the first and last day of each school year. Capture school photos on both the first and last day of term so you can compare side by side. We recommend taking these shots in the same location each time, that way you really can see how much they’ve grown!


Secondary school photos

6. Capture school year photos

Taking back to school photos shouldn’t stop with infant school photos, keep the tradition alive all the way through to capturing secondary school photos.

From photos featuring gap toothed smiles, through to those tricky teenage years questioning the choice of hair for school photos! It may require some serious encouragement (and perhaps bribery), but you will both love looking back on your school year photos together for years to come.


7. Make more of your school photos

You’ve completed your photoshoot and your camera role is now full of school photo images – what now? With PostSnap you can take your pictures from your phone to real photo prints in a matter of minutes. Whether it’s prints for a year book album or photos to fill the frames in your home, get school photos online with PostSnap.


0 comment
0 FacebookTwitterGoogle +Pinterest
Baby photos

Welcoming a new baby is a joyous occasion for your family. Those first few weeks, months and years are full of so many precious moments you want to capture for a lifetime. A baby photoshoot is the perfect way to document all those treasured memories for you to enjoy again and again. When it comes to capturing baby photos, you can choose to hire a professional for a baby photoshoot, or you can opt to capture those moments yourself. Here we take you through our top tips for achieving your own baby photoshoot at home.


1. Prepare your baby photo ideas

Before you get started, it’s good to have some shots in mind, so you know the end goal you want to achieve. If you’re not sure about the types of baby photos you are after, no problem, sites such as Pinterest or Instagram are full of baby photo ideas. Try searching for types of photos such as baby photos newborn, baby photos funny or baby photos boys. You can then put together a shortlist of your favourite baby photoshoot ideas.


Newborn baby photos

2. Capture newborn baby photos in the first two weeks

Timing is everything! If you’re looking for images capturing the true newborn stage, with the classic wrinkly newborn skin, then aim for the first two weeks. Babies are typically sleepier at this stage too, so try and time your baby photoshoot around nap time. This will help you to feel more relaxed and with a less wriggly baby it will be easier to capture your baby photos.

After two weeks your baby will be more alert, and so potentially fussy, however if you are looking to get baby photos with more eye contact and capture more of your little one’s personality, then we would suggest waiting until they are a couple of months old.


3. Time the light right

When capturing baby photos at home, you should think about when and where gets the most natural light. A north-facing window lets in indirect sunshine that’s not too harsh or glaring, as long as you have daylight, you can use this location at any time of day. You can get similar results by taking your baby photos at the right time of day, for a west-facing window that’s in the morning or an east-facing window in the afternoon.

If you want to take the shoot outside, time it for golden hour. That is the first hour after sunrise or the last two hours before sunset. These times provide optimum shooting conditions for your baby photos, the light is softer and warmer and shadows are longer.


Baby photo props

4. Use some baby photo props

Adding a few props to your baby photoshoot can give both a professional and personal feel. Need some ideas on the types of props for baby photos? There are lots of things around the house you can use such as a moses basket, a snuggly blanket or swaddle cloth, sheepskin rugs or their favourite cuddly toy.

If you want to inject some colour and fun into your baby photos, how about adding a colourful head band, or seasonal props such as Christmas stockings or a pumpkin. Another option is to find an adorable costume, a quick google search of baby photos boys or baby photos girl will provide plenty of costume inspiration.


5. Safety first

It goes without saying, safety of your newborn always comes first. Here are a few things to consider when undertaking your baby photoshoot at home. Ensure any props are sturdy and well-built. If you’re shooting from above, ensure you use the camera neck strap or a holder if shooting using a phone, just in case the device slips from your hands.

Babies comfort is also key, this will keep both you and baby relaxed and calm to get the most from your baby photoshoot. Ensure to choose props which won’t irritate delicate newborn skin, use a blanket or swaddle layer between baby and any props, just ensure they are washed in unscented detergent. Warm babies are happy babies, keep the room at an optimum temperature.

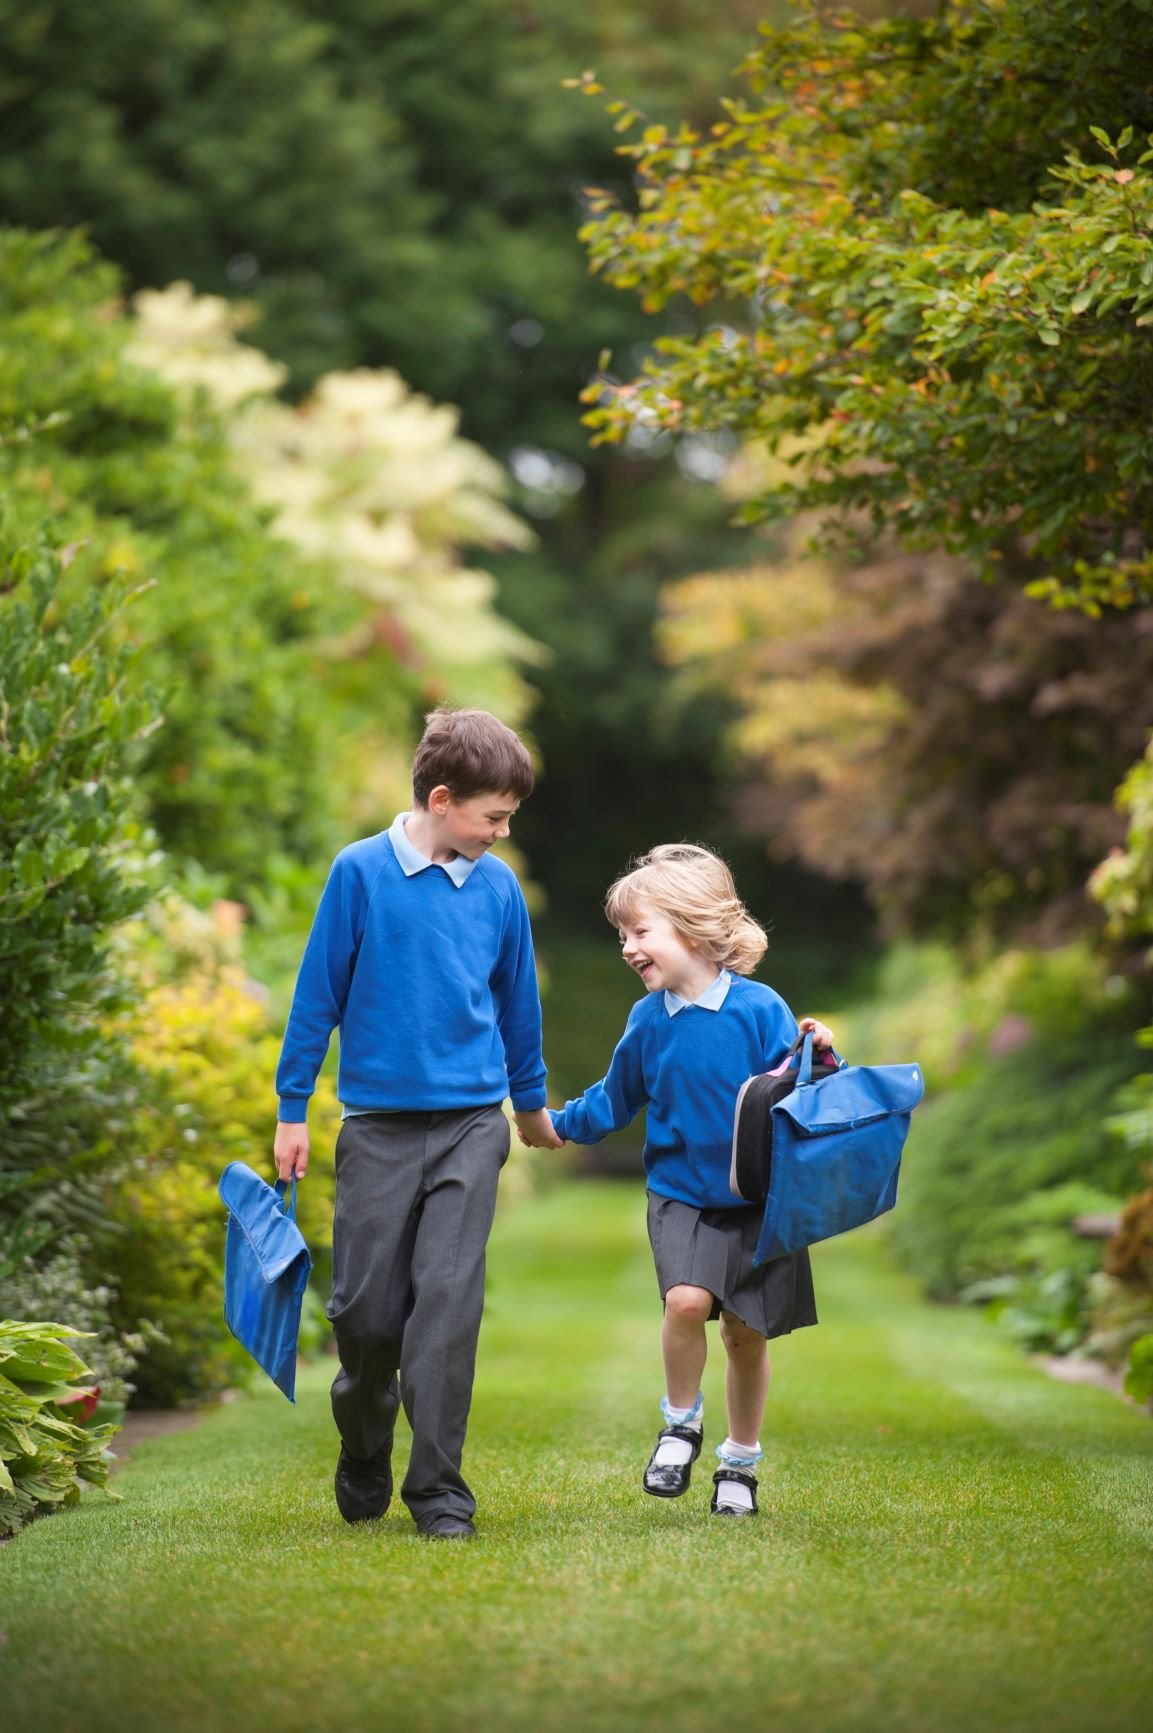
6. Get baby photos with the siblings

Baby photos with their older brothers and sisters are always a family favourite. To achieve natural shots it’s best to give their siblings a role. For example, you could ask them to read to their baby brother or sister. If they are a little younger, ask them questions to get them involved, for example can you touch babies’ nose? This will result in more candid shots whilst keeping the older ones occupied and interested – win win!


7. Do your baby photoshoot in stages

Unlike when you hire a professional photographer, a baby photoshoot at home provides the gift of time. Instead of trying to pack all the shots in a couple of hours (between feeds and changing), you can choose to take a few shots at a time over the course of a few days.

This is where your preparation really comes into its own. Be sure to have your shortlist of favourite baby photoshoot ideas to hand so you can tick them off as you go!

There are so many milestones in your babies first twelve months, opting for a baby photoshoot at home allows you to capture your baby’s growth and adventures! Try taking a picture of your little one in the same location or with the same prop once a month. This makes perfect baby photo prints for a baby photo album, scrap book or to share with family and friends.


Baby photoshoot at home

8. Capture the tiny details

For guaranteed baby photos cute factor, be sure to capture the close-ups. Photos of their tiny toes, little fingers wrapped around one of yours and don’t forget those adorable baby rolls.


9. Showcase your baby photos

You’ve put all the tips into action and your baby photoshoot is complete, now it’s time to create treasured keepsakes! With PostSnap you can take your images from camera roll to real photo prints in a matter of minutes. Whether it’s prints for your baby photo album or photos to fill the frames on your gallery wall, we’re sure to have the baby photo format for you.

0 comment
0 FacebookTwitterGoogle +Pinterest